
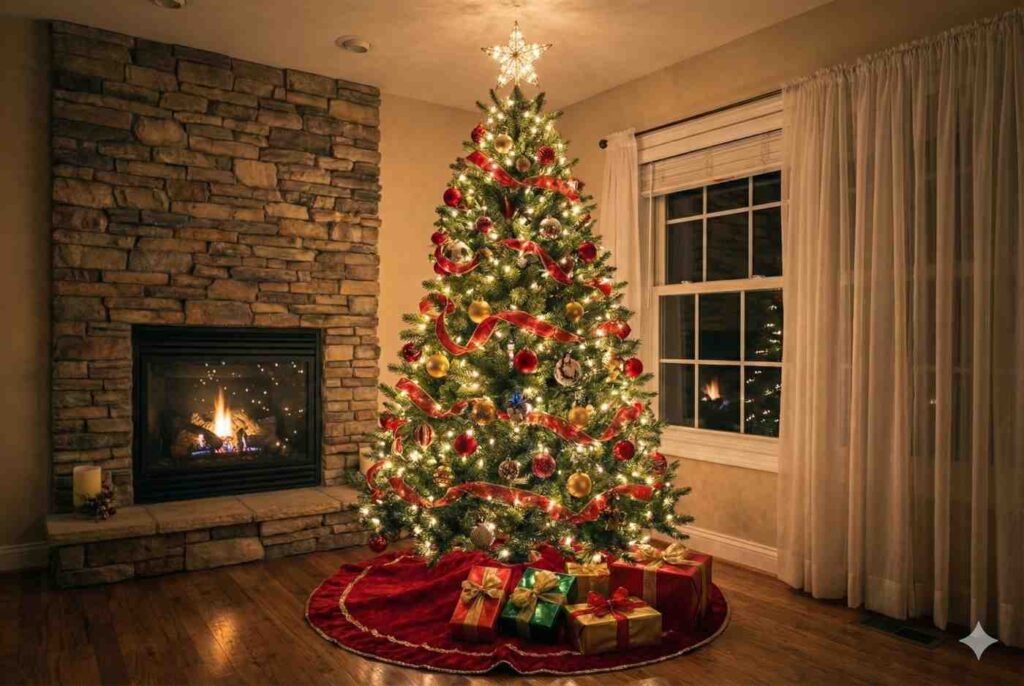
Is there anything more magical during the holidays than the soft glow of a beautifully decorated Christmas tree? It’s the centerpiece of our homes during the season, the spot where memories are made and presents are piled.
But let’s be honest. Sometimes, staring at a bare tree and boxes full of tangled decorations feels more stressful than magical. You might wonder, “Do the lights go on first? How do I get that ribbon to look right? Why does my tree look lopsided?”
If you are nodding your head, don’t worry. You are not alone. Decorating a tree to look like the ones in magazines isn’t actually magic—it’s just following the right order of operations.
This guide is going to walk you through exactly how to decorate a Christmas tree. We will break it down into simple, manageable steps, using plain language. By the end, you will have a stunning tree that you’ll be proud to show off.
Let’s grab some hot cocoa, put on some festive tunes, and get started.
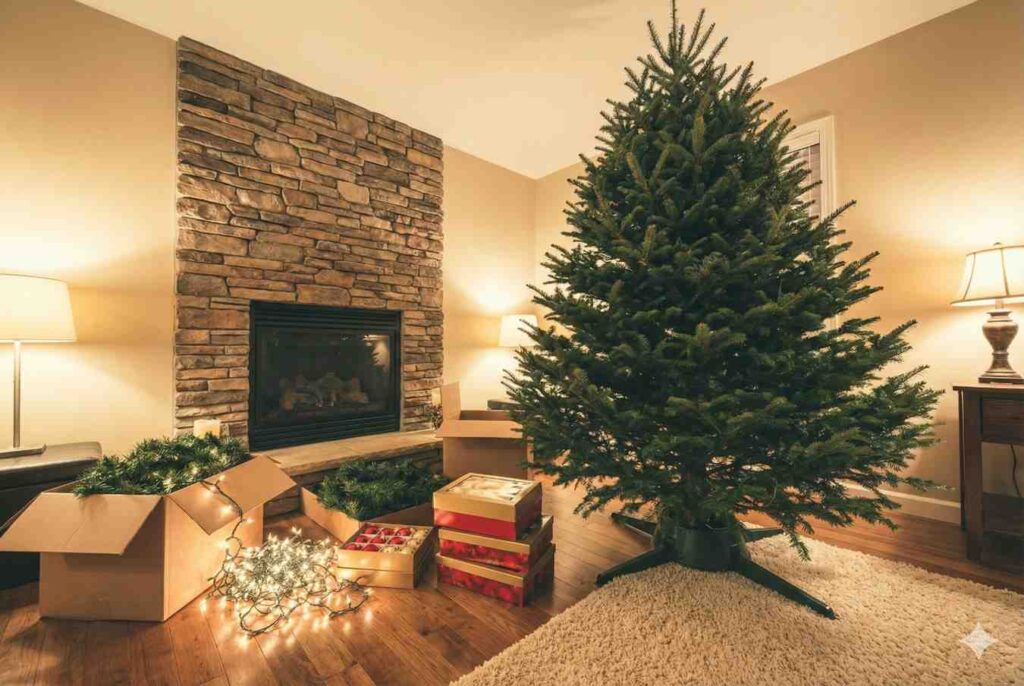
Phase 1: The Preparation (Don’t Skip This!)
Before you hang a single ornament, you need to prep your canvas. If you rush this part, the final result will never look quite right.
gather your supplies
It is frustrating to stop halfway through because you can’t find the ornament hooks. Get everything ready before you start. You will need:
- Your tree (real or artificial) and stand.
- Christmas lights (check that they work first!).
- Garland or ribbon.
- The tree topper.
- Ornaments (hooks or string attached).
- A tree skirt or collar.
- A sturdy stepladder.
- Scissors.
Fluffing the Branches
If you have an artificial tree that’s been stuffed in a box for eleven months, it’s going to look sad and flat. This is the most crucial step for a full-looking tree.
You need to “fluff” it. Start at the bottom layer of branches and work your way up. Take every single branch tip and bend it outward to fill the gaps. Some should aim slightly up, some slightly down, and some to the sides. You want to make it look as natural and full as possible. This can take 20 minutes or more, but trust me, it makes the biggest difference.
If you have a real tree, you don’t need to fluff, but you should let it sit in its stand indoors for 24 hours so the branches relax before you start adding weight to them.
Phase 2: Let There Be Light
This is the golden rule of tree decorating: Always put the lights on first.
If you try to add lights after the ornaments are on, you will knock things off, and the wires will be sitting on top of your pretty decorations. We want the light to come from inside the tree, creating warmth and depth.
Which Lights to Use?
For a classic look, warm white strands are best. If you love a retro feel, go for multicolored lights.
How many do you need? A good rule of thumb is 100 lights for every foot of tree height. So, a 7-foot tree needs about 700 lights. It sounds like a lot, but more lights always look better than fewer lights.
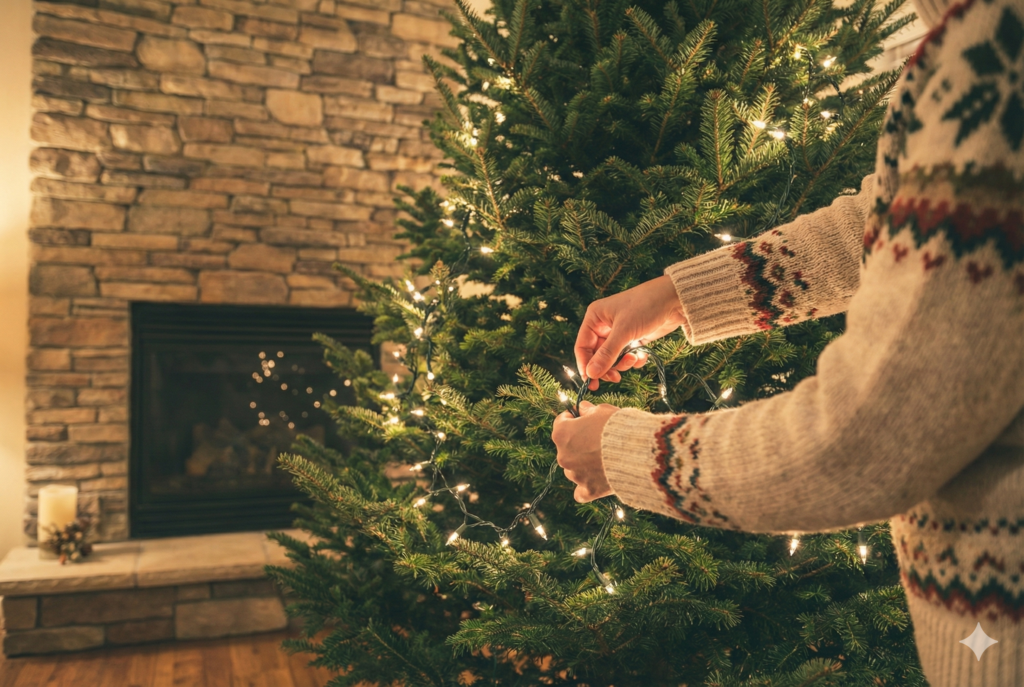
How to Hang the Lights
Don’t just walk in circles around the tree wrapping it like a mummy. This leaves wires visible and the tree looking strangled.
- Plug in the first strand so you can see what you are doing.
- Start at the bottom of the tree, near the trunk.
- Weave the lights along a branch, from the trunk all the way out to the tip, and then back toward the trunk on the underside of the same branch.
- Move to the next branch and repeat.
- Work your way up the tree in sections.
This technique hides the ugly green wires deep inside the tree and ensures every branch glows from within. Step back frequently and squint your eyes to look for dark spots.
Phase 3: Adding Garland and Ribbon
Once the lights are on, it’s time for garlands. This adds texture and helps guide the eye around the tree.
Garland can be anything from popcorn strings and beaded strands to thick, fancy ribbon.
The Ribbon Challenge
Many people struggle with ribbon. The trick is to not pull it tight. You want it to look like it is casually draped over the branches.
If you are a beginner, use ribbon that has wire on the edges. This is much easier to shape and manipulate into loops.
There are two easy ways to apply ribbon:
- The Waterfall: Start at the top of the tree and let several long strands of ribbon cascade straight down to the bottom, tucking them into the tree every foot or so to create gentle “billows.”
- The Diagonal Wrap: Start at the top and loosely wrap the ribbon around the tree in a downward spiral. Tuck the ribbon deep into the tree every few feet, twisting it slightly to give it body.
Whichever method you choose, make sure to let the branches support the ribbon naturally.
Phase 4: The Tree Topper
Wait, isn’t the topper the last thing?
Traditionally, yes. Practically? No.
Putting on the topper usually requires leaning over the entire tree. If your tree is already covered in fragile glass ornaments, there is a high chance you will knock them off while trying to secure the star or angel on top.
Put the topper on now, while the tree is relatively empty. Ensure it is straight and secure.
Phase 5: Hanging the Ornaments
Finally, the fun part! This is where your tree gets its personality. To make it look balanced and professional, don’t just start hanging things randomly. Work in layers.
Layer 1: The Filler Ornaments
These are your basic, solid-color baubles. You probably have boxes of simple red, gold, or silver balls.
Start with these. Hang the larger baubles deeper inside the tree, closer to the trunk. This does two things: it fills in dead space near the center, and the shiny surfaces will reflect the lights you placed there earlier, making the tree sparkle from within.
Hang smaller filler ornaments closer to the tips of the branches.
Layer 2: The Feature Ornaments
Now it is time for the stars of the show. These are your special ornaments—the handmade ones, the sentimental ones, the expensive ones you bought on vacation.
Place these in prime spots on the outer tips of the branches where they can be easily seen. Give them room to “breathe” so they aren’t crowded by other items.
The Importance of Stepping Back
While hanging ornaments, you get tunnel vision. Every 10 minutes, stop what you are doing and walk to the other side of the room.
Look at the whole tree. Are there too many red balls in one spot? Is there a big empty gap on the left side? Is a heavy ornament pulling a branch down too much?
Adjust as you go. Achieving balance is a constant process of checking and re-checking.
Phase 6: The Skirt and Final Touches
You are almost done. The final step is covering up the base.
A bare metal tree stand ruins the illusion. A tree skirt is the traditional way to hide the stand and the cords. Wrap it around the base and fluff it up so it looks like snow or a soft blanket.
Alternatively, tree “collars” (which look like metal or wicker baskets without a bottom) are very trendy right now and give a clean, modern look.
Finally, plug it all in, turn off the overhead lamps in your room, and bask in the glow.
Conclusion
Learning how to decorate a Christmas tree isn’t about perfection. It’s about creating a warm feeling in your home. By following these steps—lights first, working from the inside out, and stepping back to check your work—you will have a beautiful foundation.
But remember, the most beautiful trees are the ones that tell a story with family ornaments and cherished memories. So don’t stress if it doesn’t look exactly like a department store display. If it makes you smile, you did it right. Happy decorating!